Step by step
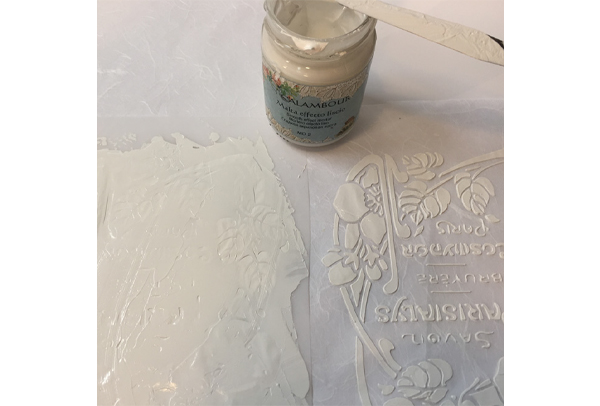
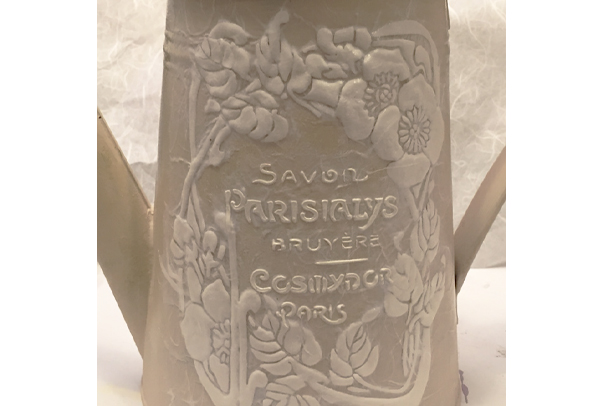
Spread the paste on the stencil
With the spatula spread the smooth effect paste (MD-2) on the stencil (SCM-216) which has been positioned upside down. Let it dry.
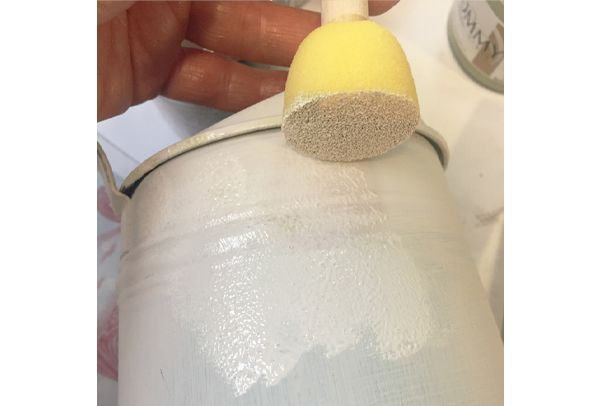
Making the base
Lightly sand the metal and then apply the opaque water-based primer (BAS-1) with a clean brush. Let it dry and then apply the chalky latte color (SH-110) with a sponge all over the watering can.
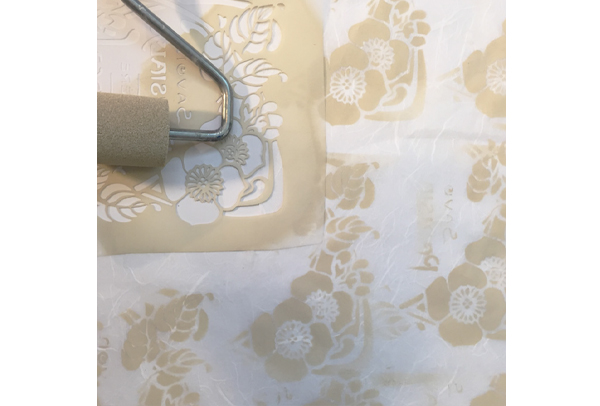
Apply the chalky cashmere color
With a roller, apply the chalky cashmere color (SH-140) on the stencil that has been spread on
white rice paper (CRC-00). Repeat several times and let it dry.
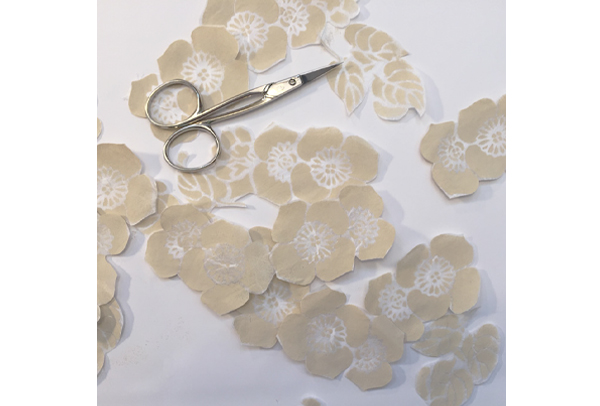
Cut out the flowers
Cut out the stencil flowers painted on white rice paper.
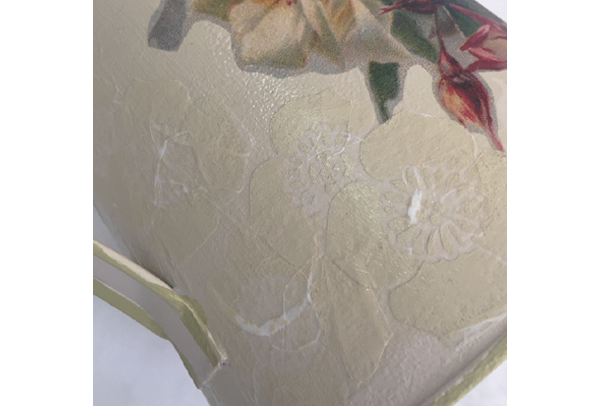
Paste the label
Glue the label made with the smooth effect paste that was made in the first step. Apply the water-based glue (GLU-1) on the side of the paste and then glue it onto the watering can.
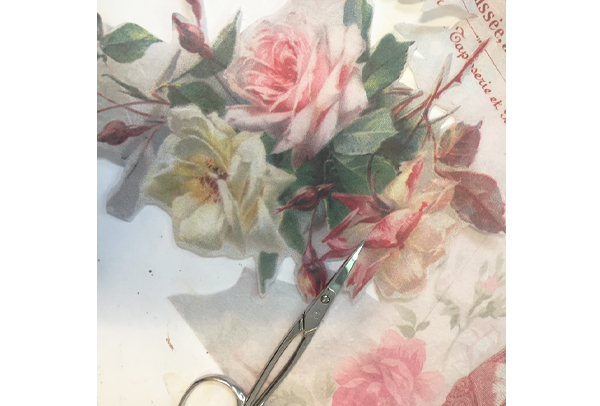
Cut out the rice paper
Cut out the desired subjects from the rice paper (TT-03).
Paste the subjects
Glue the cut out subjects of rice paper (TT-03) onto the watering can.
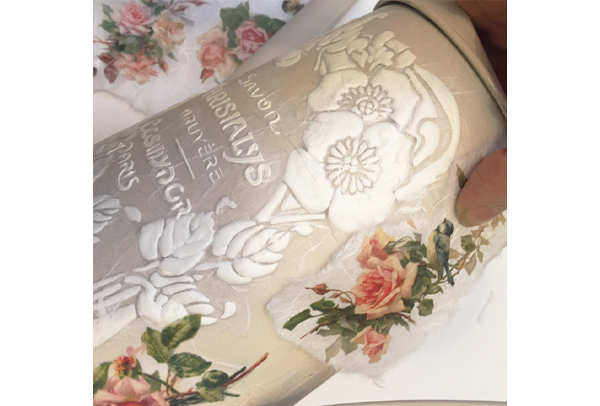
Glue the flowers
Glue the flowers obtained from the stencil to the watering can.
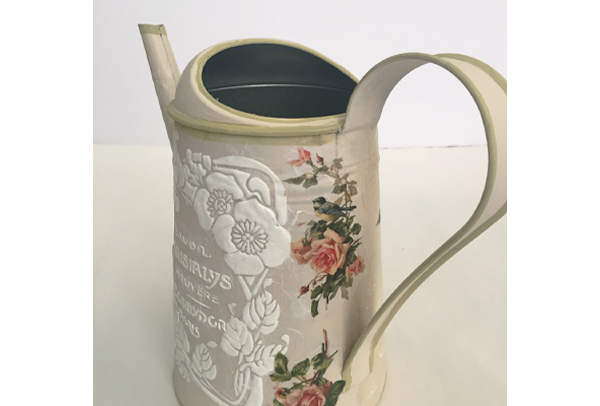
Final object
Decorate the handle and the top of the watering can with a color of your choice.
Here's what you need

Pack of 25 sheets – White and Black Gamma Rice Paper (CRC)
€7,50