Step by step
Cut out and arrange the subjects
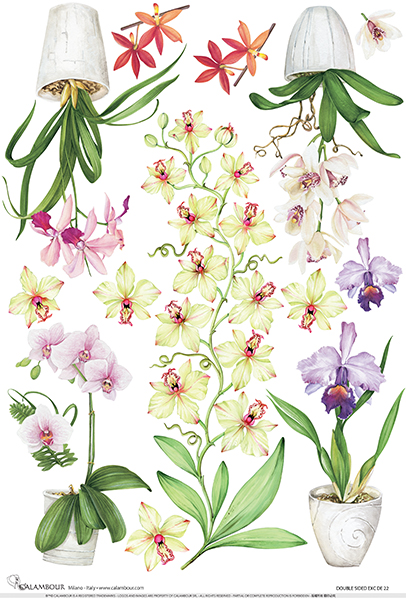
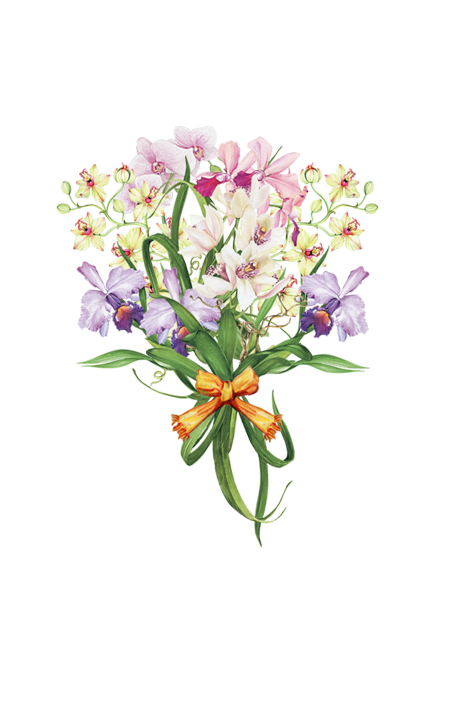
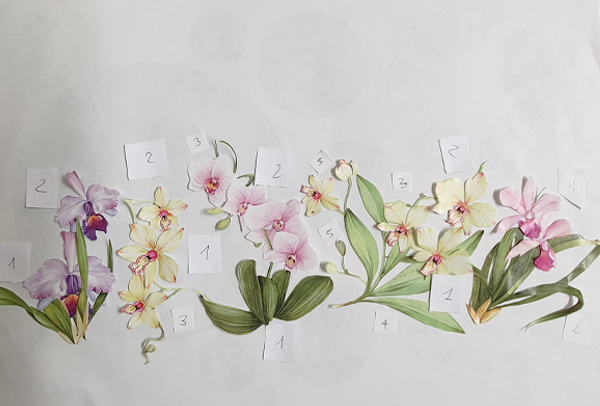
Cut out with scissors all the subjects chosen for the decoration of the paper (EXC-22-DE paper to have the back of the paper white, DE-03 and DF-01 if you want to use double-sided paper) and on a white sheet to simulate the decoration that you want to apply on the glass, putting the numbers for the overlapping order, starting from the first subjects to be applied in the foreground. After that take a picture to remember the composition at the time of application on the object.
Degrease the bowl
Degrease the glass object with dish soap, dry well and if there are streaks pass the denatured alcohol.
Dip the clippings into the water
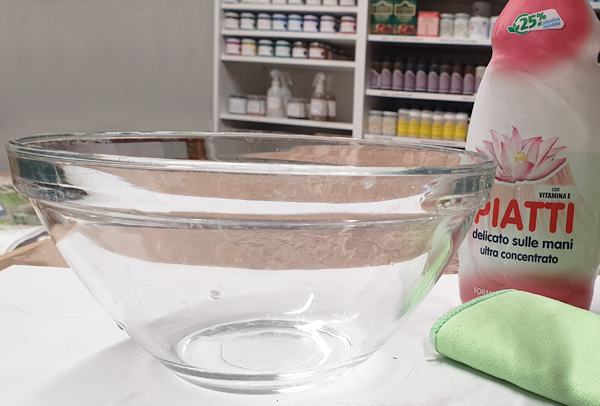
Prepare a bowl with a little water to soak the cut pieces of paper, so as to spread out the fibers of the paper and facilitate application. Keep some paper towels handy to blot excess water from the paper.
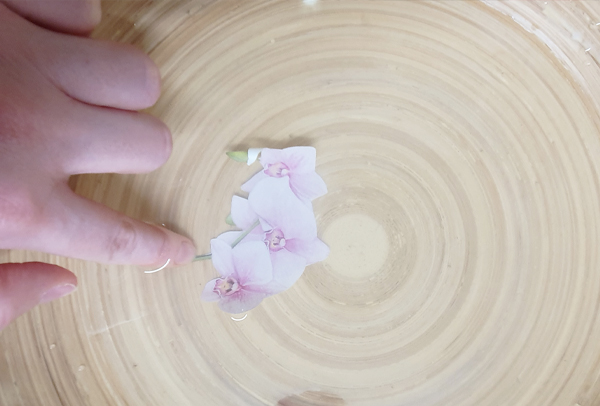
Dip the cutout in the water, and pat it dry with a paper towel.
Apply the glue
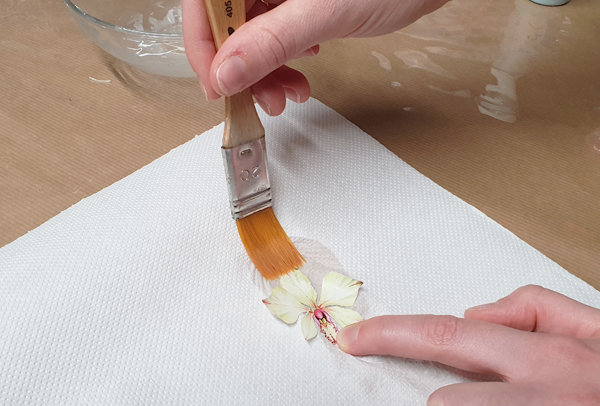
Apply a thin layer of water-based glue (GLU-1) on the image side.
Paste the subjects
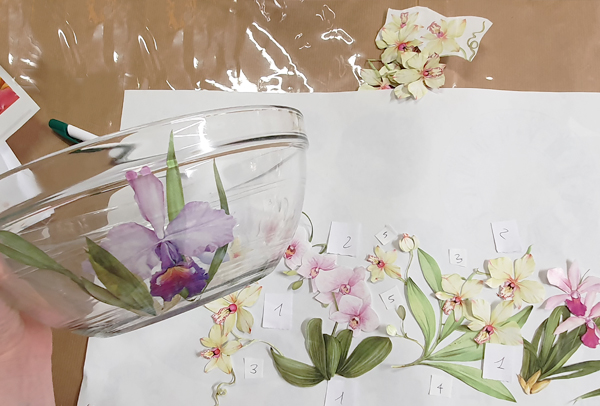
Begin to glue the subjects to which we have given the overlapping priority starting from the most external subjects to those that will overlap behind.
Blot the subjects
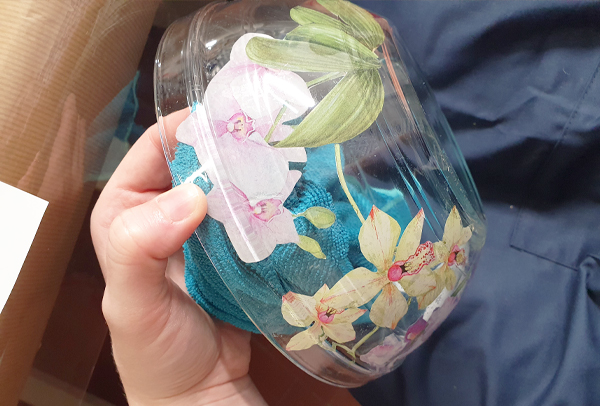
Dab with the damp microfibre cloth to remove any air bubbles or excess glue.
Give a second coat of glue
Once you have finished applying all the paper, with a small brush, go over all the paper that has been applied to the inside of the glass object with the water-based glue (GLU-1). This will serve to protect the glued subjects from any paint stains.
Once everything has dried well, clean the remaining glue on the glass with a microfibre cloth soaked in alcohol.
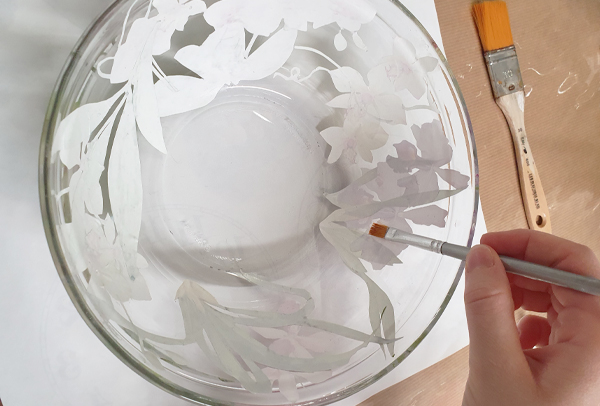
Apply the cracking primer and the glossy varnish
Put a thin layer of water-based cracking primer (BAS-2) on the sides, then turn over and let dry for 30 minutes. Then apply only one coat of glossy water-based varnish (VAR-1) with a synthetic and flat brush, not going over it again.
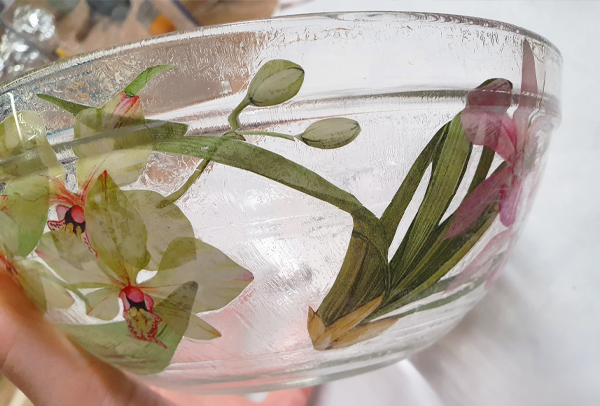
Apply the wax of your choice
Allow to dry for at least 3 hours and age with and / or antiquing finishing wax (VAR-5), golden wax or with diluted bitumen.
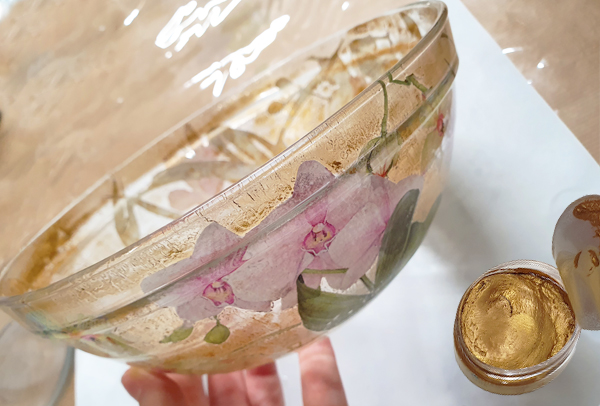
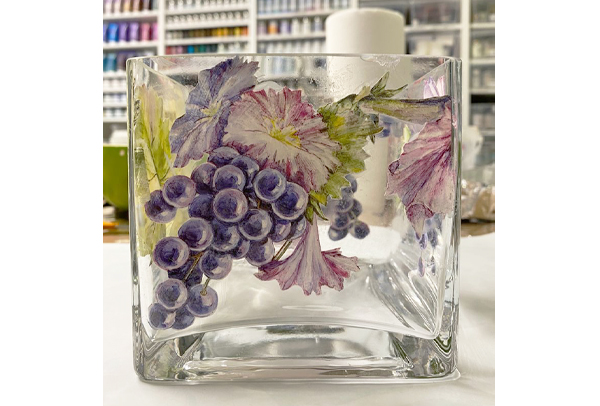
Final object
If you want a cracked but semi-transparent effect, finish with wax. While if you also want to decorate the visible internal part, use a bitumen-based antiquing agent, let it dry well and then apply a coat of acrylic color of your choice and once dried proceed with a new decoupage repeating steps 1, 3, 4, 5 , 6 and 7 and finish with a thick glaze paint such as VAR-3.
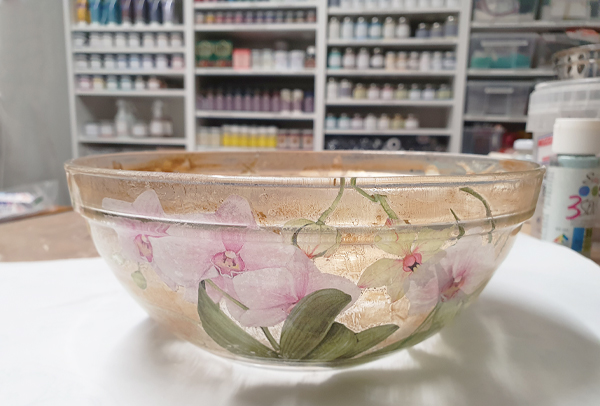
Double face result
In case of using double-sided paper, we will not need to decorate the inside with other paper: it will already be decorated!
Here's what you need
