Step by step
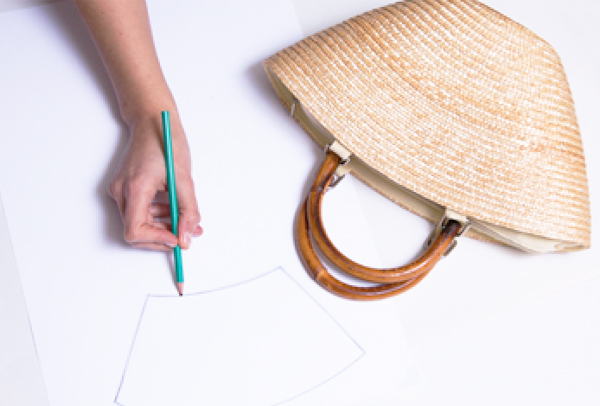
Measure the surface to be decorated
Measure the surface of the bag on which the paper will be glued and draw the space on a sheet.
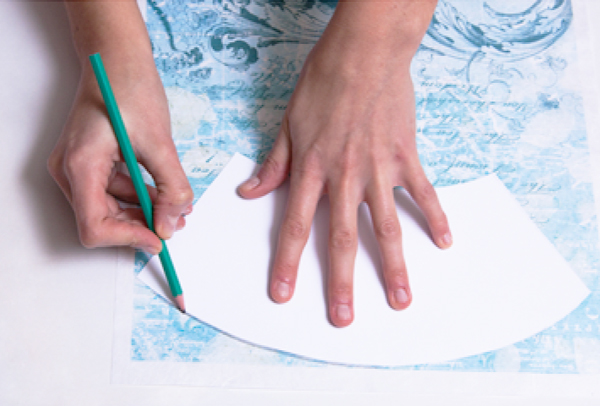
Define the background for the decoration
Cut out the shape obtained in the first step and trace it on the desired paper to make the background of the decoration.
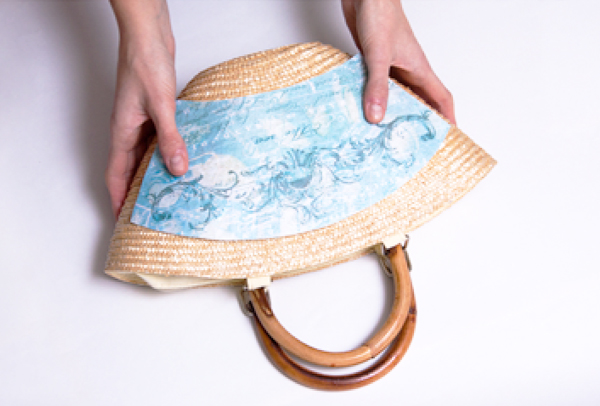
Cut out the paper
Cut out the paper and place it on the bag to determine the space on which the glue will spread.
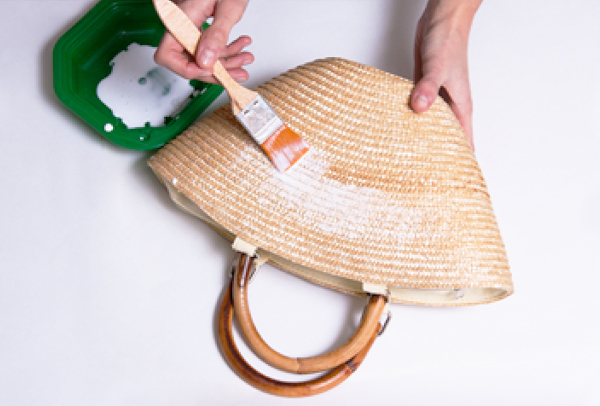
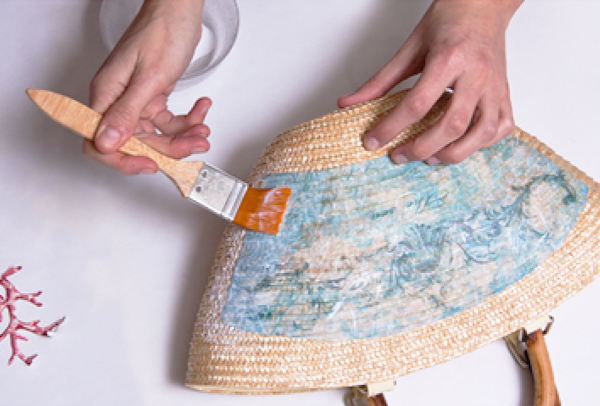
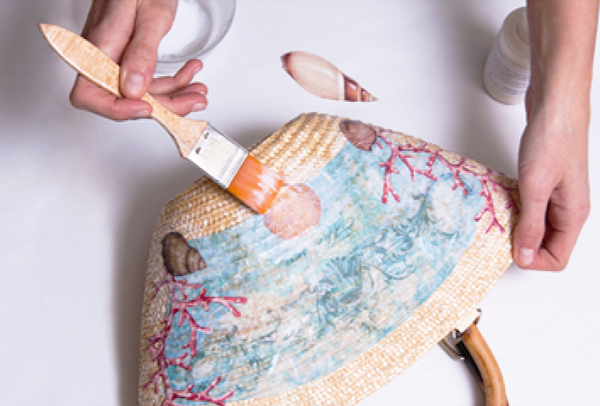
Spread the glue
Spread the acrylic bonding agent (GLU-2) on the chosen surface with a brush.
Paste the background
Glue the cut-out paper onto the adhesive applied first and then secure it with another coat of adhesive. Let it dry.

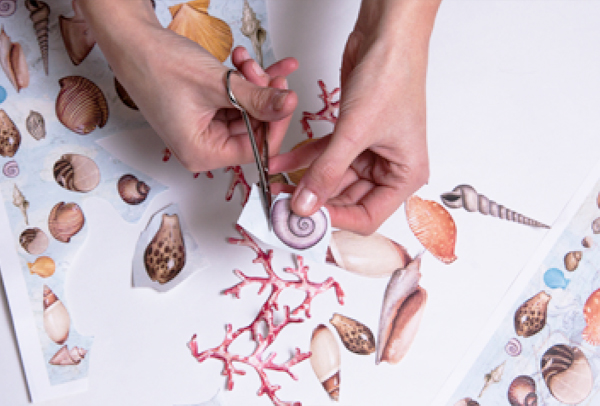
Cut out the subjects
Cut out the shells and corals precisely (EASY-16 paper).
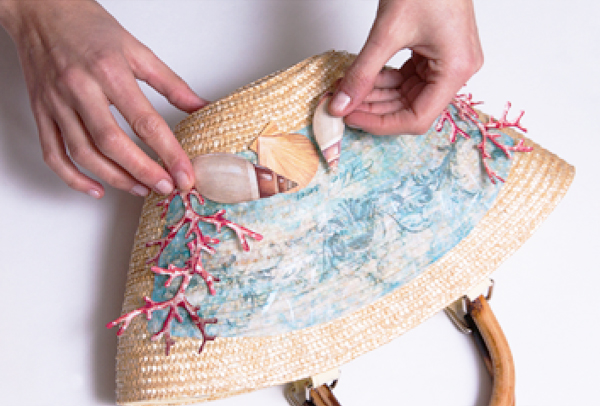
Place the elements
Choose the position of the cut out subjects on the bag by doing some tests.
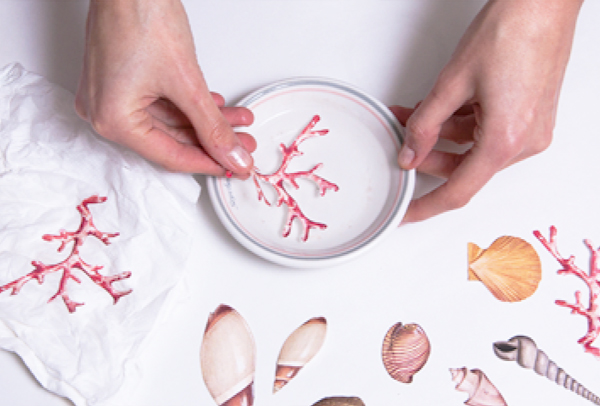
Moisten the clippings
Moisten the scraps and remove excess water with absorbent paper.
Apply the primer
Spread the adhesive over the areas where the cut out subjects will be glued.
Glue the cutouts
Apply the cutouts and secure them with the acrylic bonding agent.
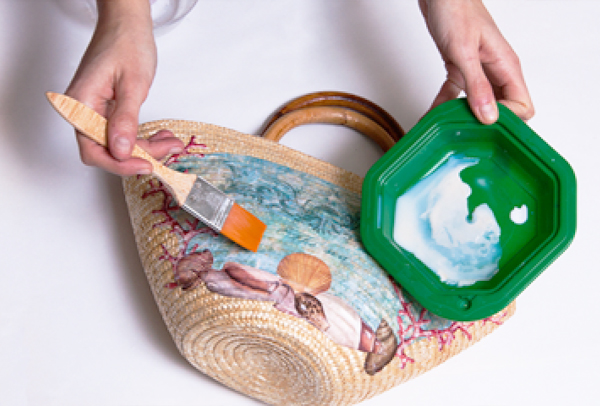
Apply the final paint
Once dry, apply the water-based glossy varnish (VAR-1) on the decoration.
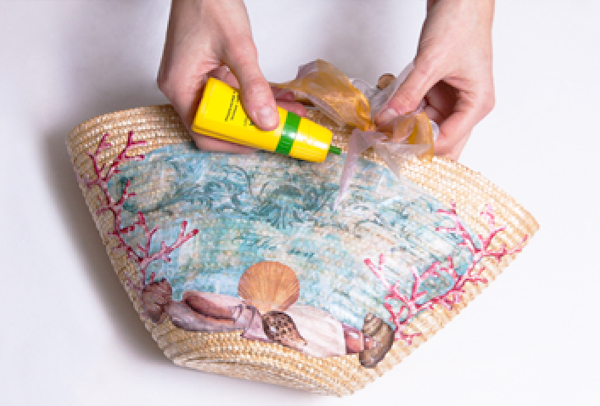
Glue the bow of fabric ribbon
Create a bow with the colored fabric ribbon and glue it to the bag using the assembly glue for interiors and decorations.
Tie the corals to the staple
Thread the nylon thread through the coral holes and tie it around the bow.
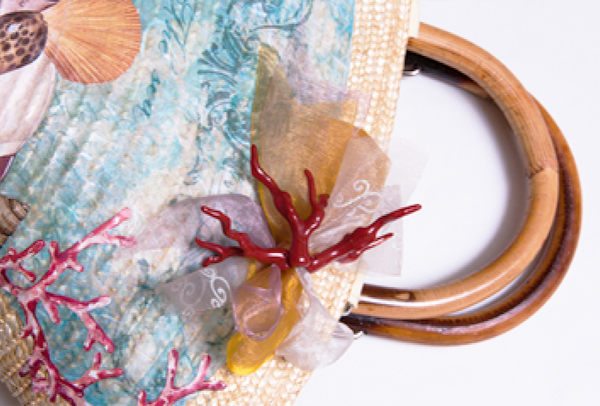
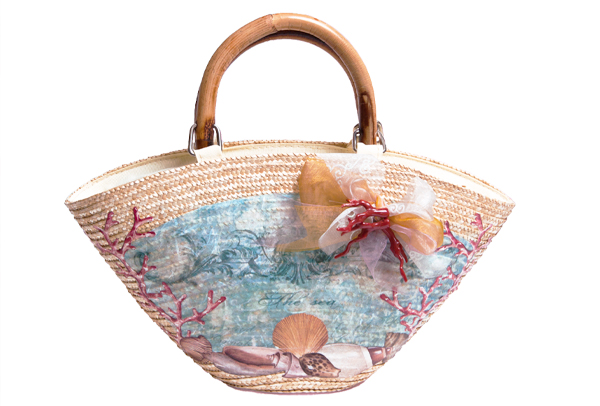
Final object
To decorate this object, you can also use any card from the coastal collection or cards on the Sea theme.
Here's what you need
Découpage Mare Paper (EASY-16 & EXCR-16-EASY)
€2,00 – €2,60