Step by step
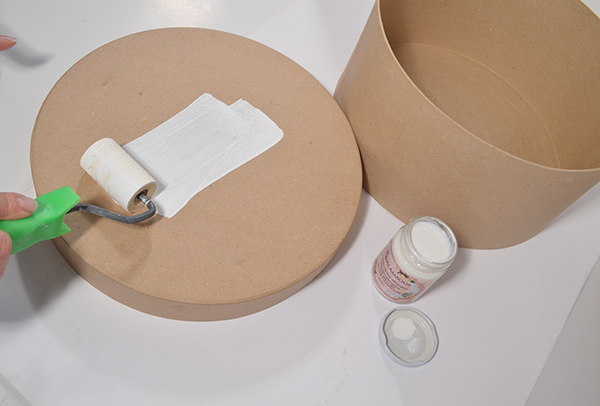
Apply the base
Apply the matt water-based primer (BAS-1) with the flat brush on the box. Let it dry and then apply a second coat.
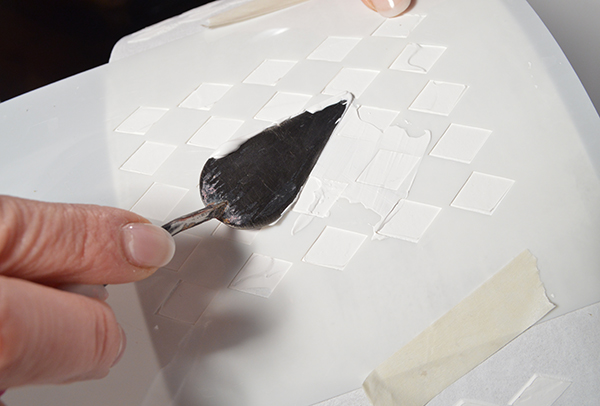
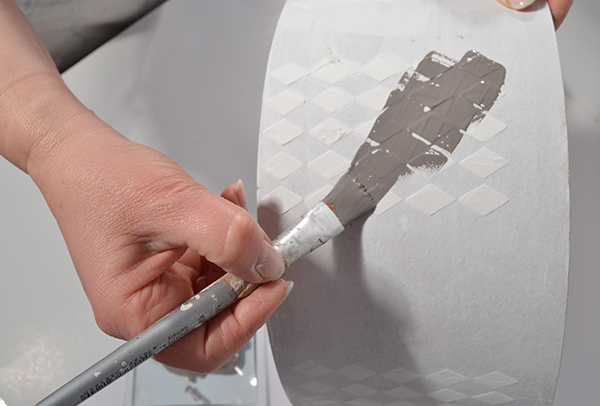
Apply the paste
Using the spatula and the stencil (SCM-207) apply the smooth effect paste (MD-2) on the box. Attach the stencil to the box with paper tape for convenience and accuracy.
Apply the shell color
Once dry, spread the chalky conchiglia acrylic paint (CC-06) over the mortar applied with the stencil.
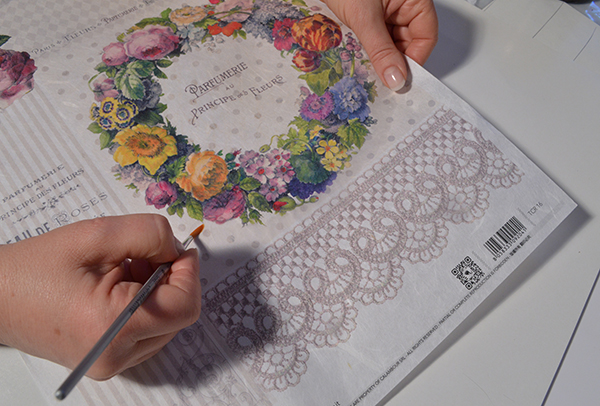
Cut out the paper with water
Wet the rice paper (TC-16) with the small brush, following the contours of the design and tear the subject following the wet contours.
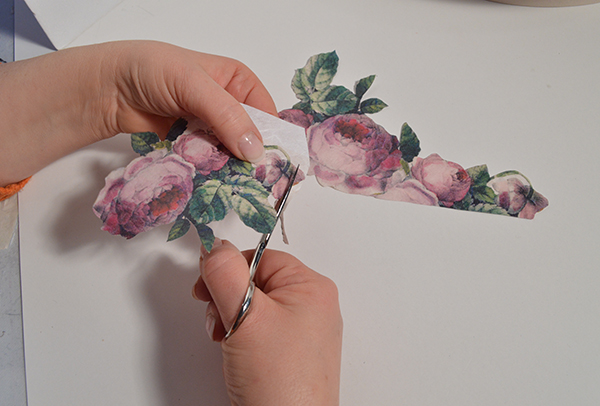
Cut out the paper with scissors
Cut out the chosen subjects with scissors or a classic paper cutter.
Apply the pearl white color
Cover the whole box (CC-01) with the final color.
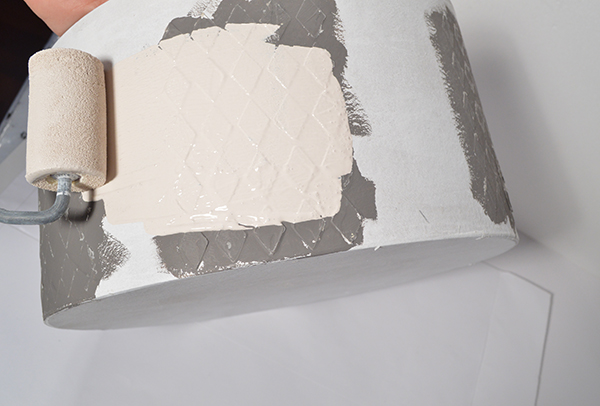
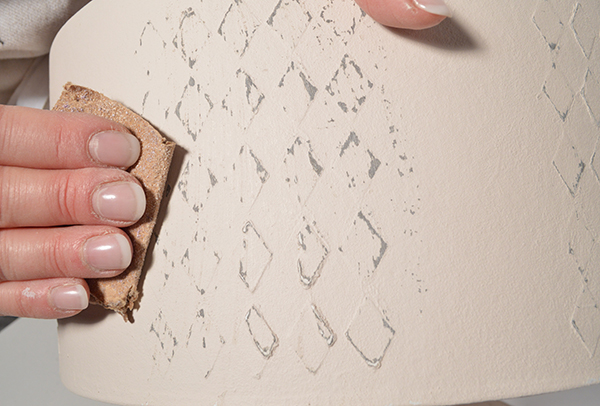
Sand over the relief
After drying, sand over the relief made with the paste using sandpaper to reveal the shell color applied before.
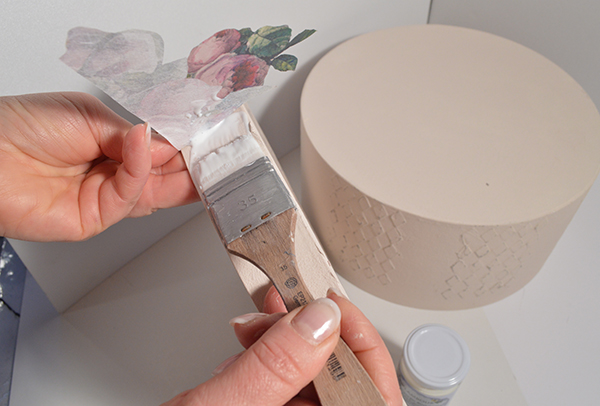
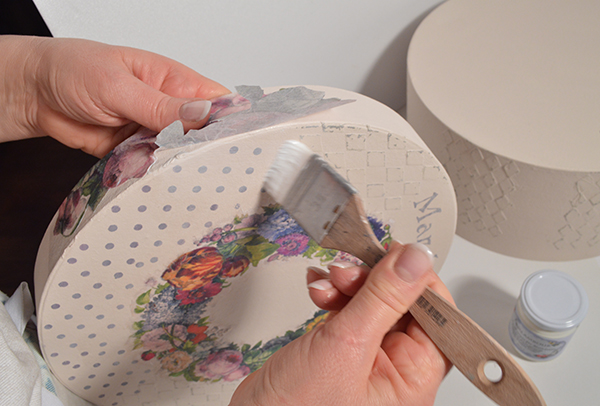
Paste the subjects
If the subject is heavy paper, we recommend a thin layer of glue (GLU-1) under the paper.
Rice paper: if the subject is in light paper, it can be glued directly onto the previously glued object.
Classic paper: it needs to be wet before applying the glue.
Apply the protective varnish
Once everything is dry, apply a coat of protective varnish of your choice (Lucida VAR-1, Opaca VAR-2 or Vetrificante VAR-3).
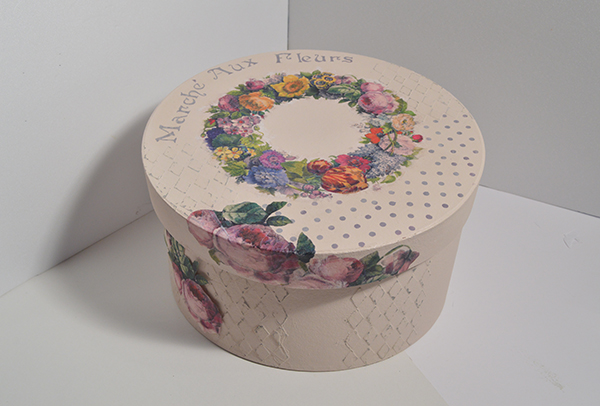
Final object
The découpage technique, the stencil with relief paste and the shabby technique were used on this box.
Here's what you need